

What ships, and what you have ready.
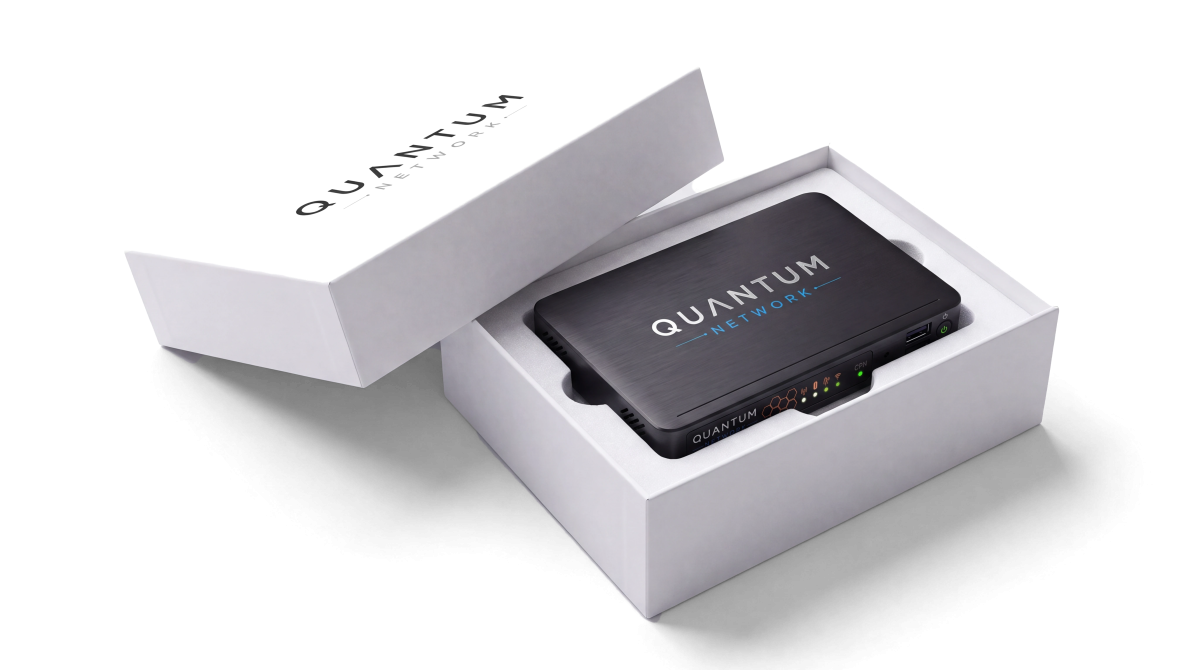
In the box
- The gateway
- A universal power supply with a cord for your country
- A Quick Install Guide
- Two LAN cables, 2 m red and 2 m green
You provide
- A dry, dust free place, 0 to 40 degrees, 5 to 85 percent humidity, no condensation
- A network port with internet or site to site connectivity
- A laptop for the first configuration, plus a LAN cable or a free switch port to reach the management interface
- A second endpoint, because a network needs at least two, and one of them needs a public IP address or DNS name. That is usually a virtual gateway in your own data centre or cloud, which is why the gateway at the site typically needs no firewall changes.
Rubber feet are fitted. Wall, VESA and DIN rail mounting are available as options.
Four LAN ports, each preconfigured for a different job.
Logical view of which port connects to what. Not a picture of the rear panel.
| Port | What it is for | Addressing |
|---|---|---|
| EXT | The external interface, to the public internet or the OT network. | DHCP, can be set to a fixed address |
| INT | The internal interface. Use it to connect your internal network. | 192.168.100.0/24 gateway on .1 |
| DHCP | A second internal interface. Use it to hand out addresses to devices on your LAN. | 192.168.200.0/24 gateway on .1 |
| MGT | The management port. It gives your laptop an address for the first configuration and is normally used for that alone. | DHCP to your laptop |
In most deployments EXT and INT are all you need.
Do not connect DHCP or MGT to a network that already runs a DHCP service. Two DHCP servers on one network cause serious problems and service interruptions.
Three cables, then power. That is the whole physical install.
- 1
Connect EXT to your internet router or switch.
This is the line the gateway uses to reach the other endpoint.
- 2
Connect INT or DHCP to your internal LAN.
This is the side your own equipment sits on.
- 3
Connect the power supply.
The gateway starts as soon as power is present, and does the same by itself after a power failure.
No software is installed on the equipment behind the gateway. Where a site still uses public IP addresses, some devices may need to move to private addressing, and we confirm that with you before you order.
The rest happens in a browser.
- 1
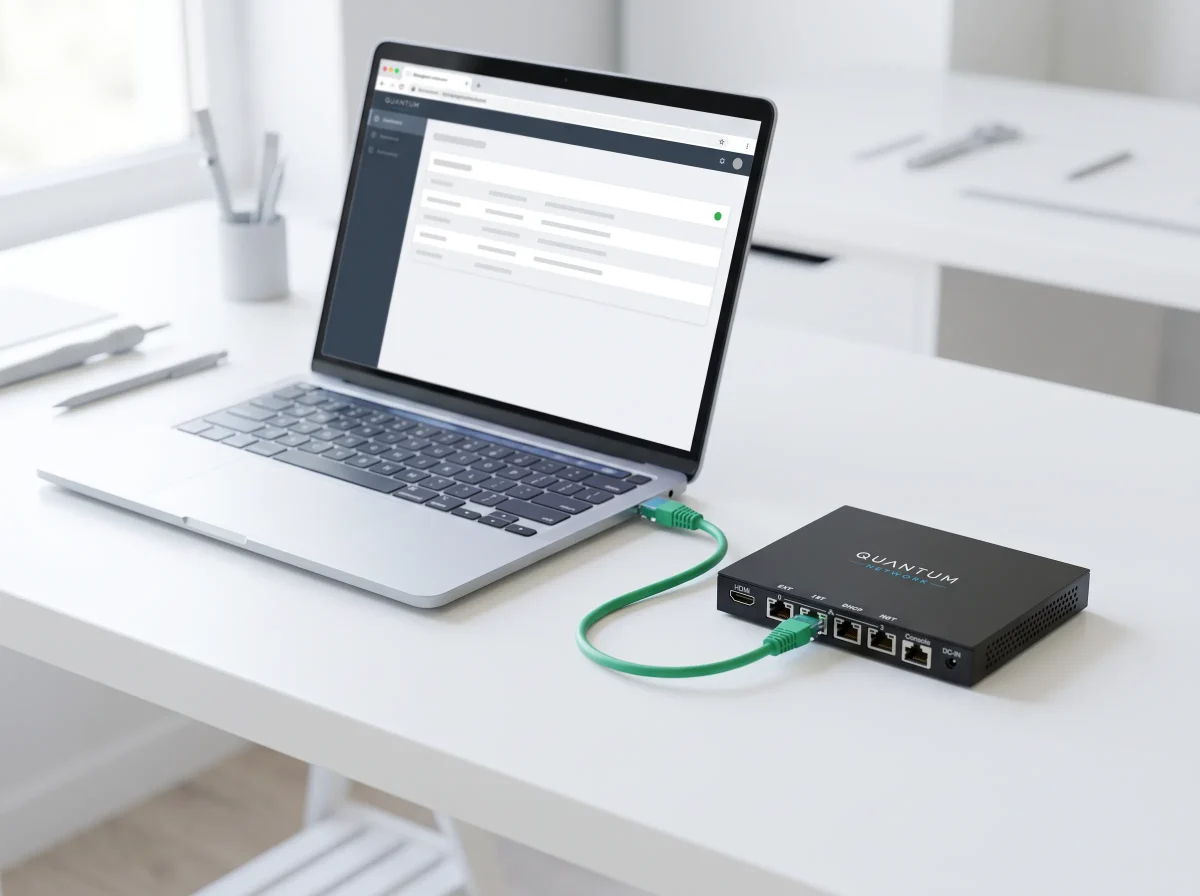
Connect your laptop to MGT and set that connection to DHCP.
The gateway hands your laptop an address automatically.
- 2
Open the management address in your browser.
Your browser will warn about the certificate. That warning stays until you install your own certificate on the gateway, or your own root certificate in the browsers.
- 3
Log in and change the password immediately.
Log in with the factory default credentials. The gateway makes you set a new password at first login, and it has to meet your own policy.
- 4
Confirm administrative access.
This unlocks the advanced functions you need for the next steps.
- 5
Give the gateway a name you will recognise.
Other endpoints will show this name, so make it say where the box actually stands.
Use the web interface only for the tasks in the documentation. Changing network or system settings beyond that can cause configuration problems and service interruptions. The firewall settings needed for normal operation are handled by the gateway itself.
How you see that it works.
The overview shows one row per connection.
A green light on the front panel means at least one connection is live on this gateway. There is no acceptance test to arrange. The proof is on screen: valid keys, renewed every two minutes, in front of your eyes.
Two ways to bring a connection up.
Both end in the same place: a live quantum-safe connection. Which one you use depends on whether you can reach the far gateway directly.
Over quantum-safe SSH
For gateway to gateway, when a technician at one site can reach the other. Creating the connection configures both ends at once and takes up to 90 seconds.
You need
- Both gateways configured
- Firewall access on the side with the fixed address. The install documentation has the details.
- A sudo login on the far gateway, and an SSH client that speaks quantum-safe SSH. Nothing else is accepted.
- A clear picture of which networks you want to route
With a connection profile
The preferred way for software clients, and for gateway to gateway when SSH is not available. No SSH connection is needed at any point.
Steps
- The side with the fixed address creates a temporary profile
- You copy it or download it, or scan it as a QR code on a software client
- You import it on the client or the far gateway
A temporary profile works once and expires after seven days.
Upgrade to quantum-safe protection
See which gateways you need and where they go, in a few questions.
Answer a few questions about your locations and connections. You see an indicative configuration straight away: which gateways, and where they sit in your existing network.
Manage risk. Reduce your exposure.
No contact details needed to see your configuration.
Rather talk it through? Book a 30-minute call